Showing posts with label crochet. Show all posts

Quick & Easy Half Circle Crochet Rug


We moved a while back, so we've been kind of starting all over in terms of decorating.  One of things I really wanted to accomplish was to make our home look cozy and inviting, so I decided I'd try knitting or crocheting a few things.  After all I have a ton of yarn just sitting around begging to be used ;)
This crochet rug is actually really quick and easy.  It takes a bit of yarn, but it works up really quickly.  I have the rug in my kitchen in front of the sink and it is soooo soft and squishy!  I just didn't want to take pictures in there since the lighting isn't very good.  And of course a certain someone invited herself to the photo shoot!  This little girl has recently started full out crawling and is quite proud of the fact that she can (and does) get into everything.  But I figured she's cute so I might as well leave her in the photo ;)
I loved this rug so much, that I'm working on a giant round one for my living room!  Well, the plan is for it to be giant, but I've run out of yarn.  Guess I just need to go out and buy some more!  Bummer ;)

From Net to Rug

Follow my blog with Bloglovin

So remember my attempt at arm knitting?  Well, since it didn't turn out quite how I envisioned, I decided to try something new.  I posted a sneak peak on Facebook the other day, so I figured I'd post and show you all how it turned out!

IMG_5523.JPGIMG_5524.JPGIMG_5525.JPG

I totally love it!  The lighting in my kitchen wasn't great so the colors look a little different, but it's 3 strands of white, a chocolate brown, pale yellow and a Tiffany blue.  And it is so soft and squishy!  I first tried to put it next to the front door, but quickly found out that it's too thick and the door couldn't open.  I think I like it better here in the kitchen though, it's right under the sink so it keeps my feet nice and comfy while doing dishes...which is always a plus!  And the colors are nice and cheery...extra cheeriness is also a plus when doing dishes ;)
How about you?  Have you ever tried making a rug?  I'm loving is so much I might just attempt to make an area rug for my living room!


This post may contain affiliate links. Full disclosure policy here.

Simple Mason Jar Topper

IMG_5352.JPG

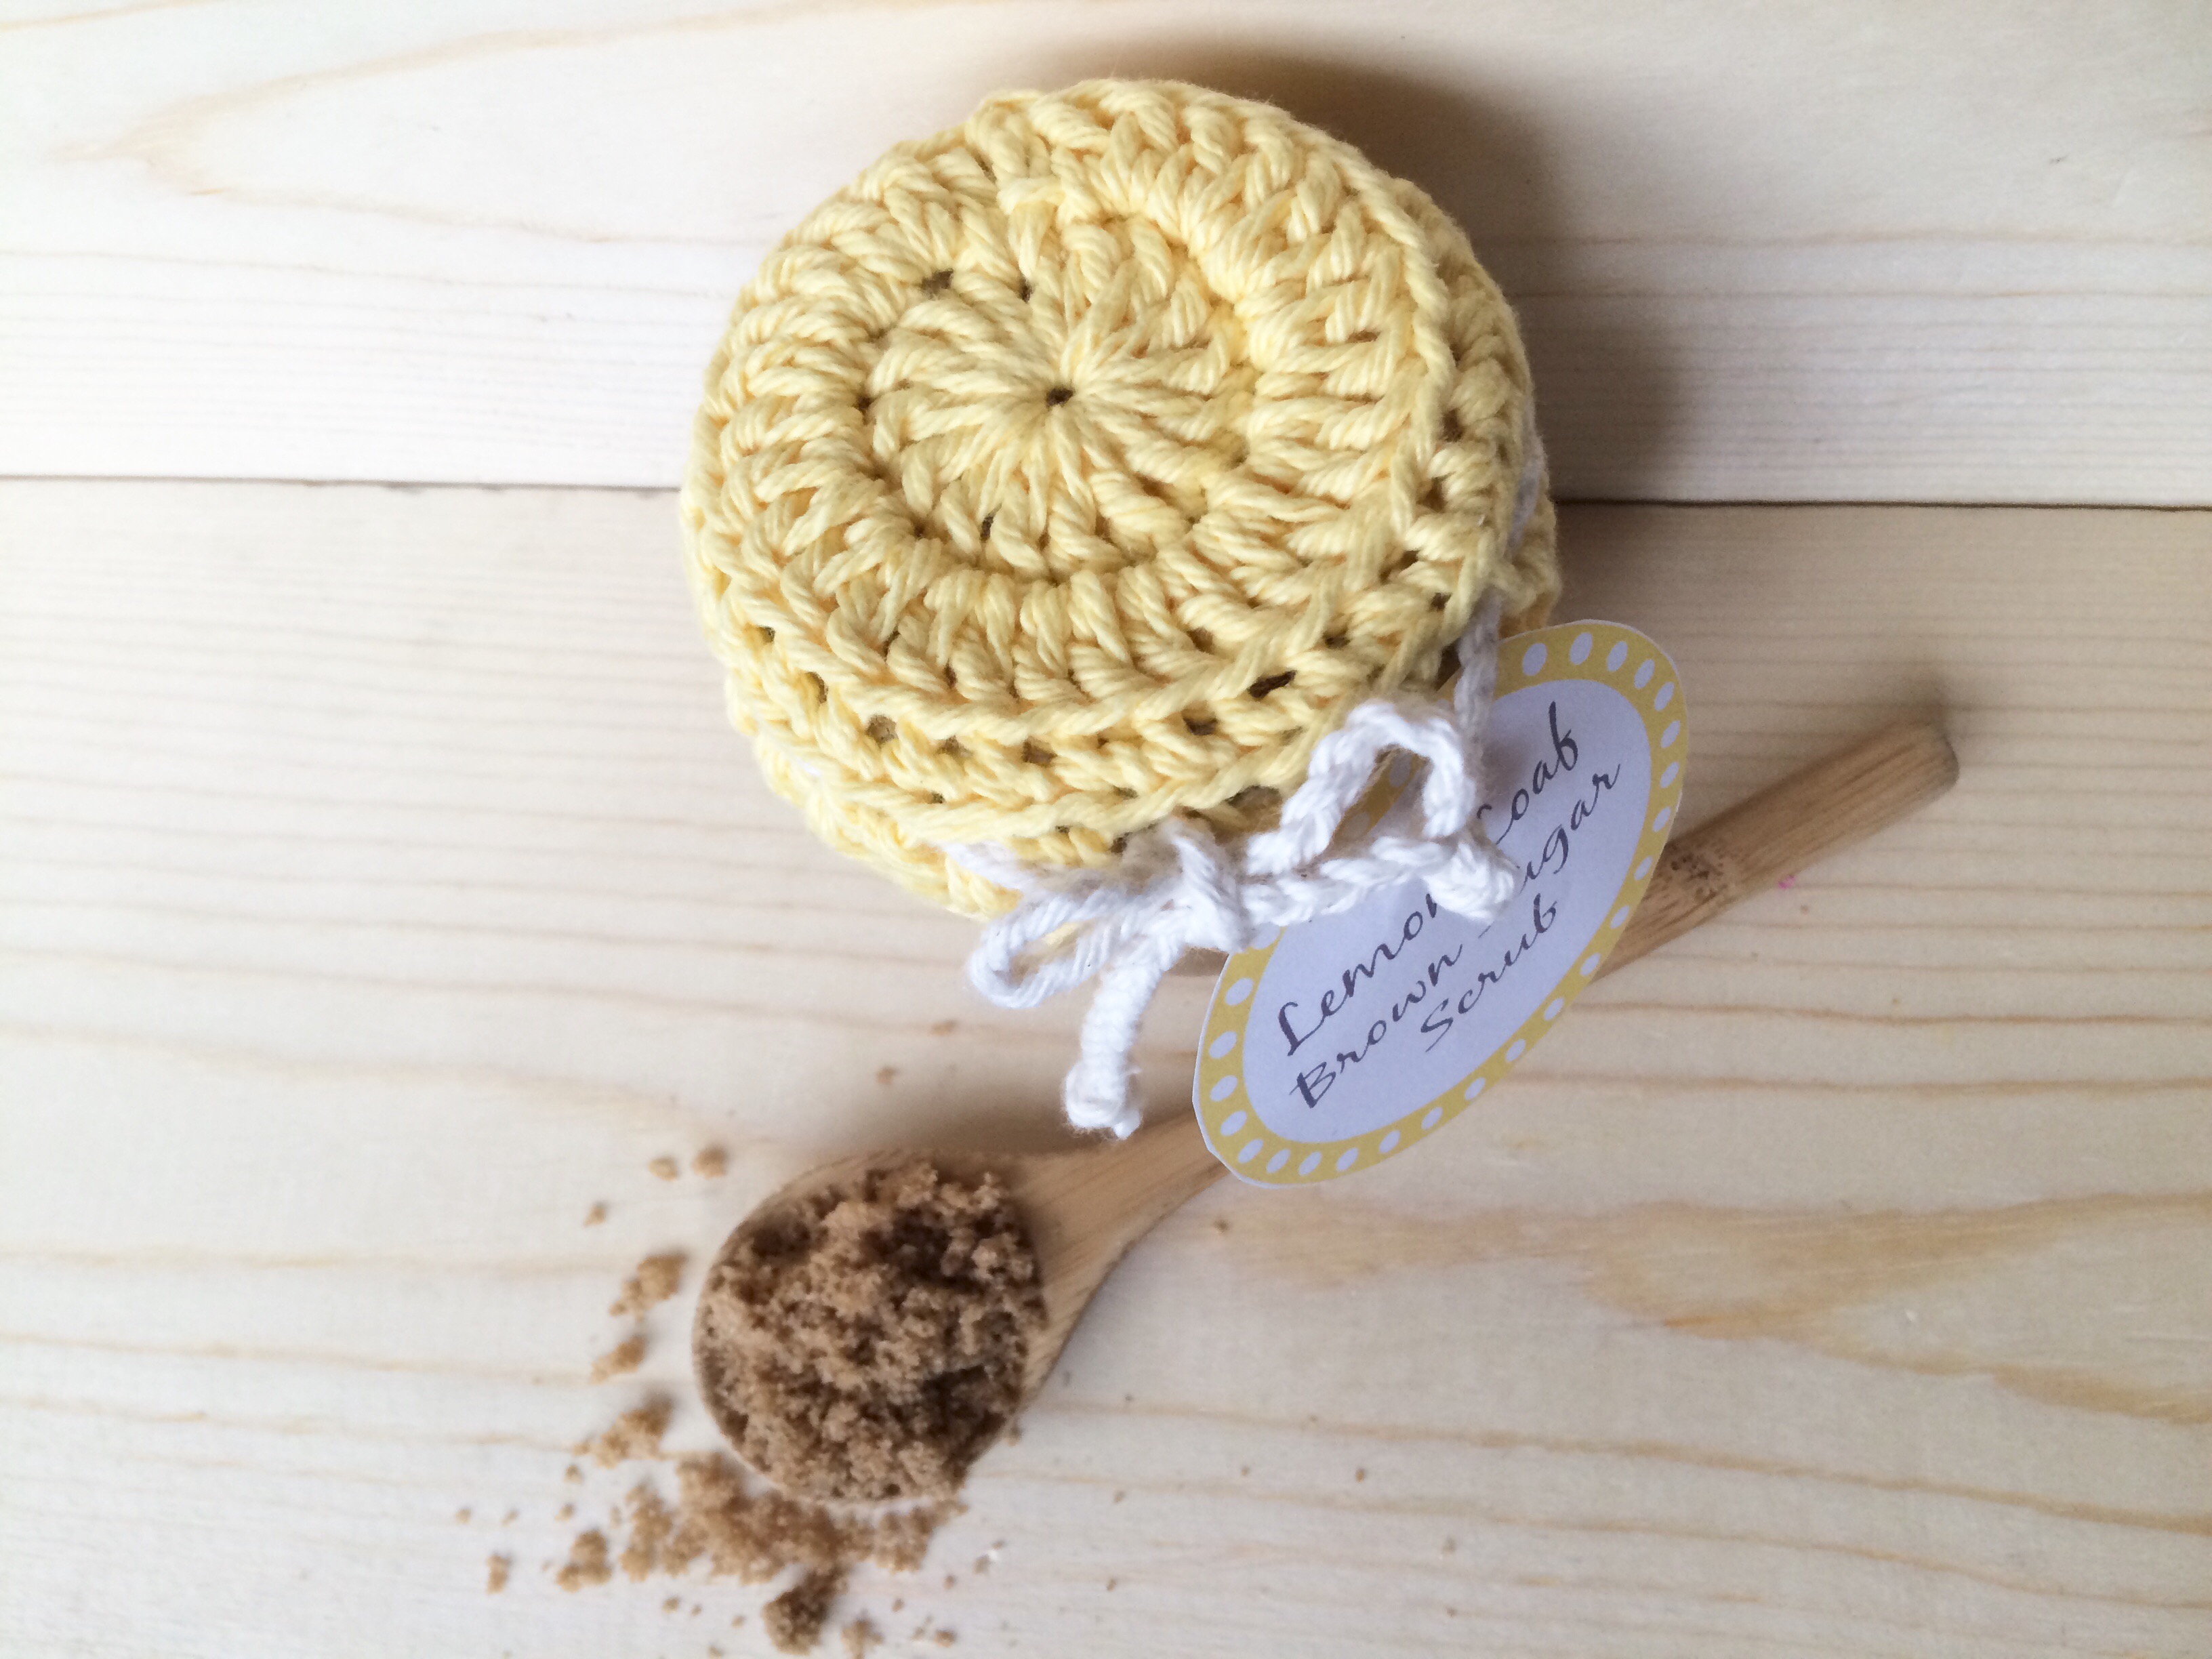
If you saw my post yesterday, you might have seen the little crochet jar topper I made.  Well, today I'm sharing the pattern with you!  Not that it's much of a pattern, it's pretty simple, but it'll save you from having to figure it out yourself ;)  This should fit most narrow mouth jars.

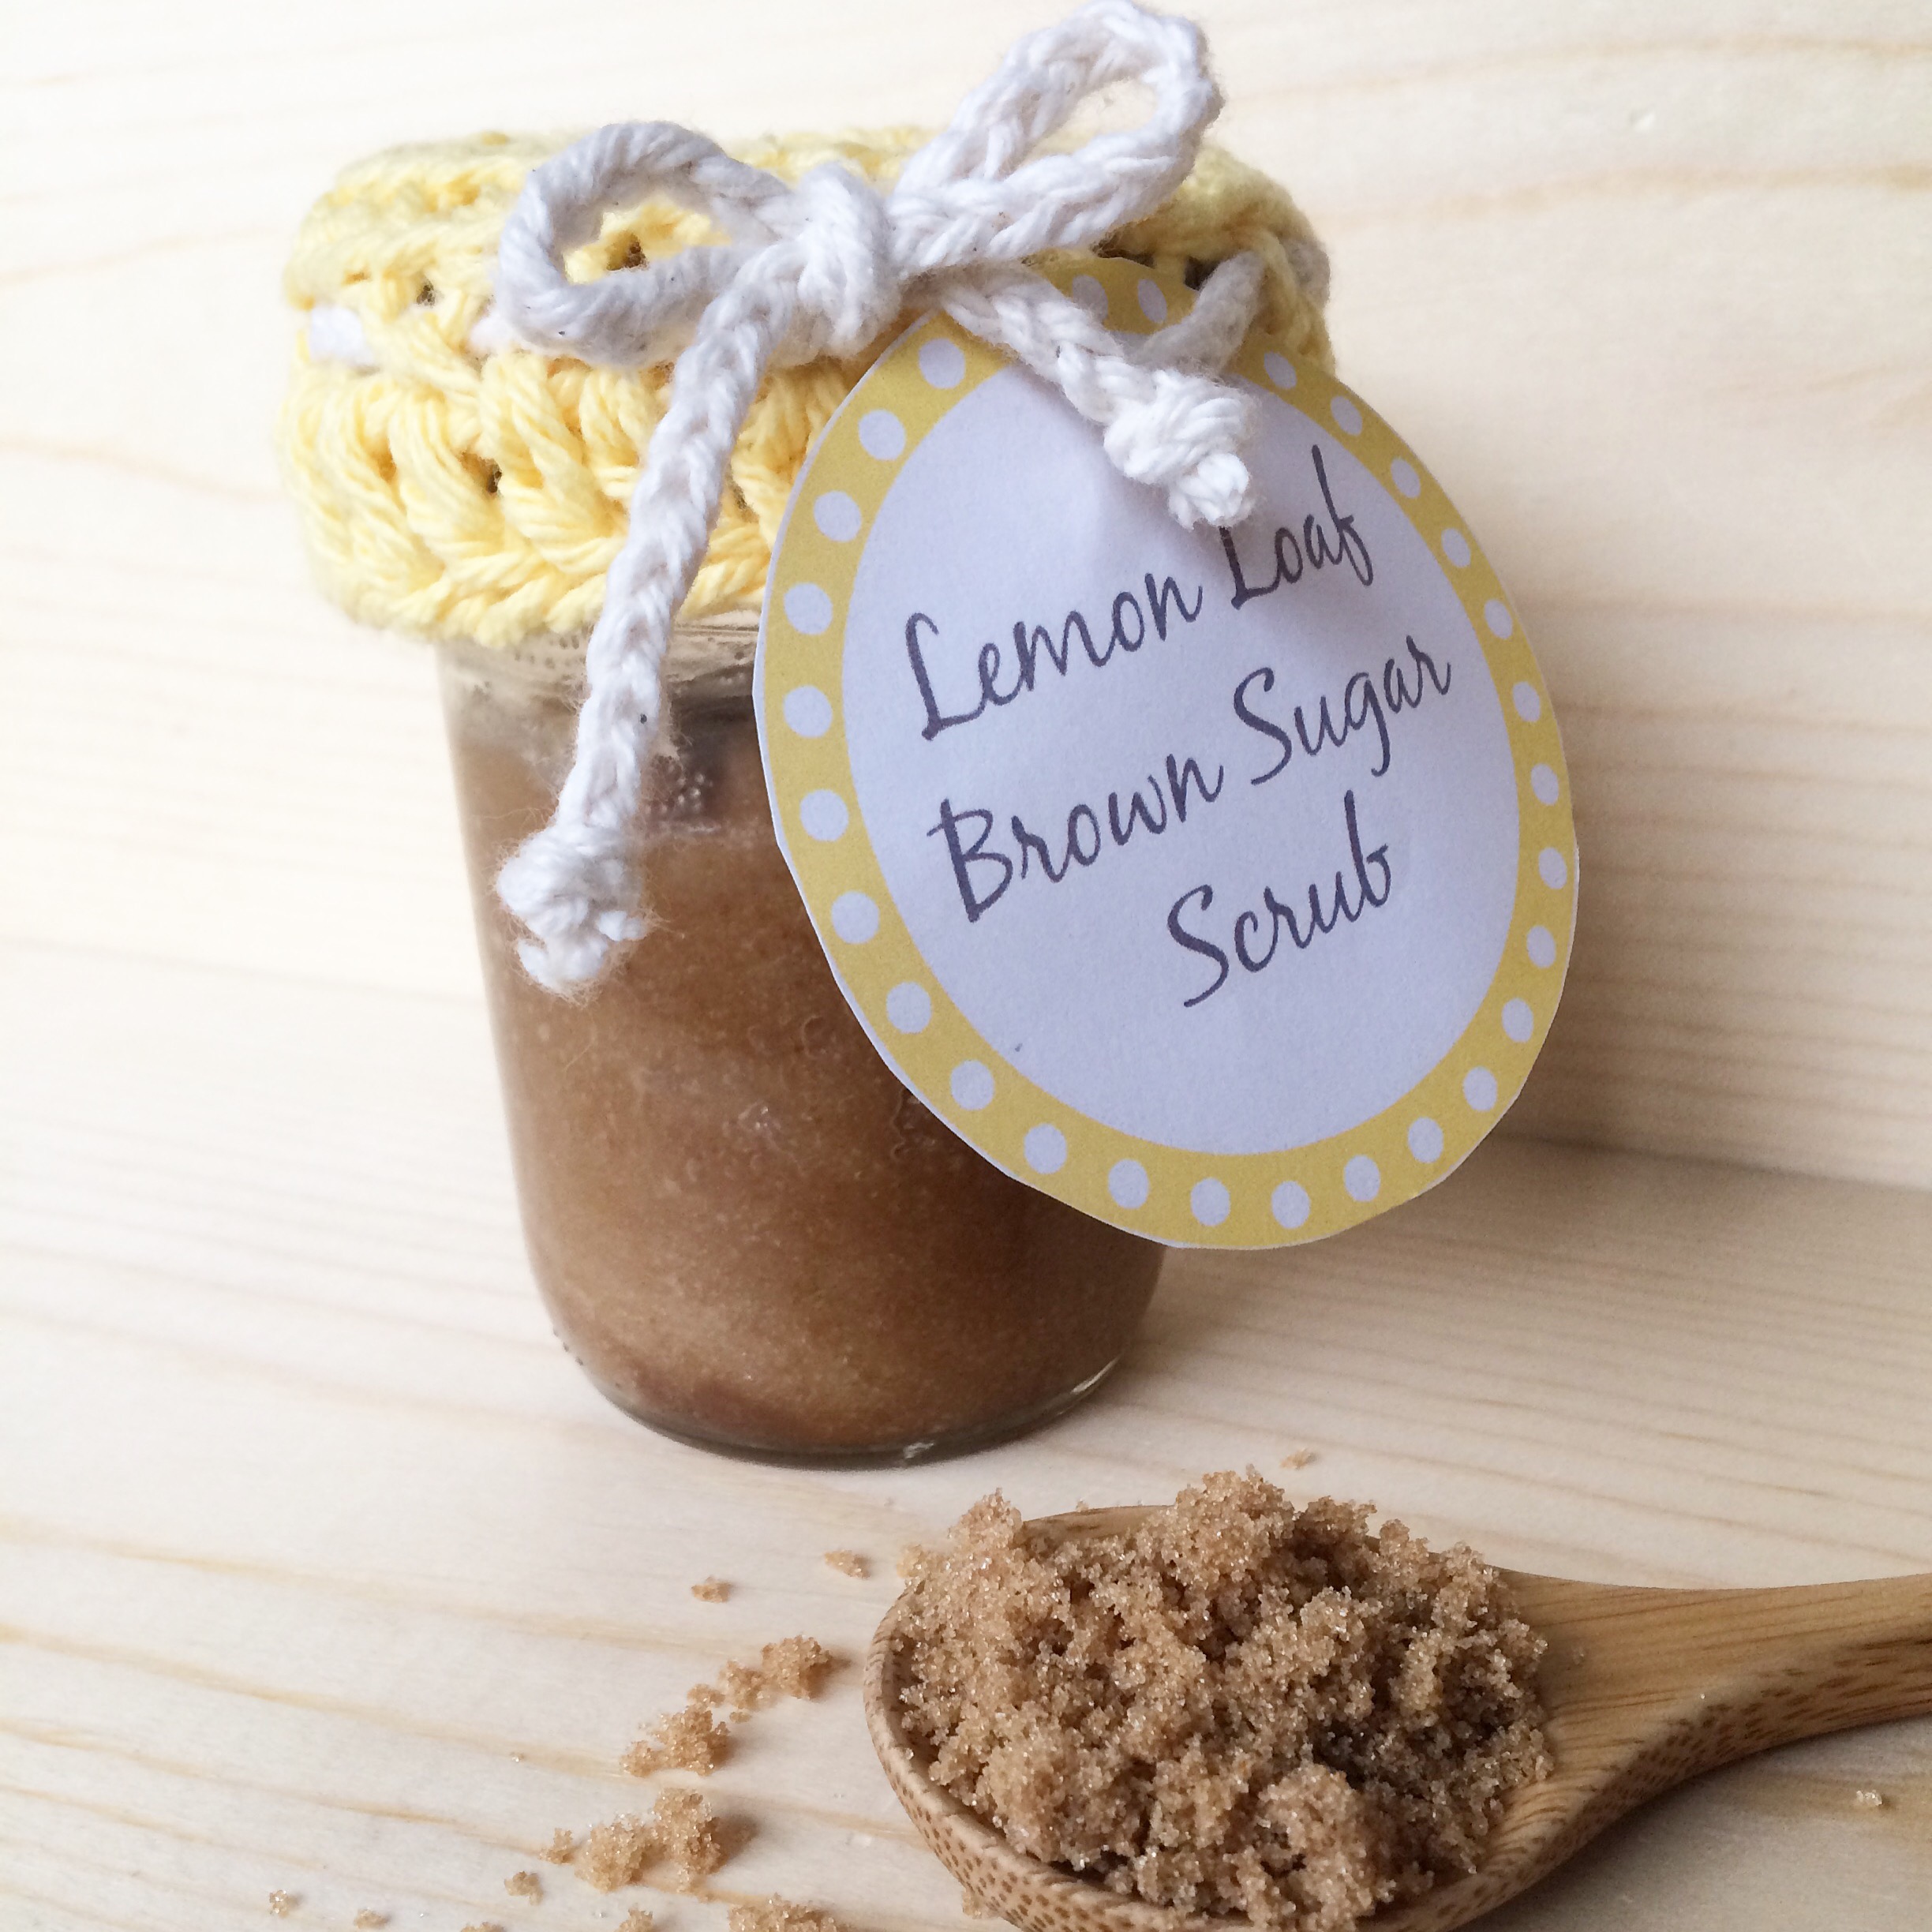
Lemon Loaf Brown Sugar Scrub Recipe


I love sugar scrubs, and they make a perfect gift.  They're quick and easy, but people love to get them as gifts because it's a little "indulgence" they might not ever buy or make for themselves.  I got some lemon oil a while back (read the review here) and it smelled so amazing I knew I had to make a sugar scrub out of it!  But I wanted something a little more than just the basic lemon sugar scrub, so I came up with this Lemon Loaf Brown Sugar Scrub.  When I let my kids smell it they wanted to eat it, it smells that good!  I didn't let them, but I could have because this is made with ingredients found in many people's kitchen.  If you keep scrolling, I've also included the pattern for the crocheted mason jar topper =)


Lemon Loaf Brown Sugar Scrub
Ingredients
IMG_5352.JPG
  • 1/3 cup of coconut oil, melted* 
  • 1/3 cup of brown sugar
  • 1/3 cup white sugar (you can use all brown sugar, but I found it to be too dark)
  • 4-6 drops of lemon oil (this is the one I use)
  • 1/2 tsp pure vanilla extract
Directions
  1. Mix everything together.  It doesn't get much easier!  Add more oil or sugar if you want to change the constancy.
  2. Store in a jar or airtight container. 
*Coconut oil will harden a bit in cooler temperatures.  If you want to avoid that, use half coconut oil and half olive or almond oil.  Or just replace it altogether.


Simple Crocheted Mason Jar Topper

Materials

  • Any worsted weight yarn (I used Lily Sugar n Cream in "Sunshine")
  • Size "I" crochet hook
Abbreviations
  • Dc - Double Crochet
  • Ch - Chain
  • Sc - Single Crochet
Directions
IMG_5343.JPG
  1. DC 14 into a magic loop, slip to join, ch 2 and turn 
  2. Dc into same, 2 dc in each remaining stitch, slip to join, ch 1, turn
  3. Sc in the back loop only in each stitch, slip to join, ch 2 and turn
  4. *Skip stitch, sc*, repeat from * to *, slip to join, ch 2 and turn
  5. Dc in each stitch, slip to join, bind off and weave in ends
  6. Braid some yarn and weave it through holes formed in row 4
  7. Tie in a cute little bow =)
*Note: It may be a little tight at first, but it'll stretch.  If you find you need a bit more room, just add a row of single crochet between rows 2 and 3.

If you would like to use the same label I did, just right click on the image below and save to your computer.  The image is formatted for an 8x10 page, so it shouldn't need any adjustment.  


Linking up here:


This post may contain affiliate links. Full disclosure policy here.

Updated Drool Monkey Scarf


I've been making and selling my Drool Monkey Scarf for a while now in my Etsy shop, and as I've been making them I've changed the pattern a bit to help smooth out the edge and I've also added a second button hole.  Here is the updated pattern:
Follow original instructions for rows 1-7
Row 8: Hdc on back loop only until the end of the row, sc across the remainder of the scarf (adding a sc at the end of each row) until 5 stitches are remaining. Ch 1, skip 1, Hdc in 2, ch 1, skip 1, hdc in last.  Ch 1 and turn.
Row 9: Sc across until you reach the beginning of row 8. Hdc across the remainder of the scarf, (adding a hdc at the end of each row).
Add a button or bobble stitch.

Want to read more?  Sign up for email updates here!

This post may contain affiliate links. Full disclosure policy here.

Monkeys, Bananas and Yarn...Oh, My!

There's been a lot of crafty fun going on here.  We've been dyeing yarn and playing with the yarn swift.

IMG_5233.JPG

And a certain little someone thought it was pretty much the funniest thing ever!  She just sat there and giggled at it the whole time.  This girl is definitely like her mom...she loves yarn!  Maybe even more since she tries to eat it and I don't ;)

IMG_5143.JPG
(photo from Instagram)

I've also added a couple of things to my "Drool Monkey" collection.  I came across the idea of crocheted teething biscuits a while back and thought, "Really?  Those look kinda lame, do babies actually like those?"  Well, I went ahead and gave it a shot and my little Chunky Monkey LOVED them!  So I figured I'd throw some up on my Etsy shop and see if anyone else was interested in them.  But naturally I had to have a little more fun than that.


So we have Drool Monkey Banana Bites!  And they're pretty cute if I say so myself ;)  But then it gave me a few ideas on some teething toys.  I found this pattern and decided to make a little monkey teething toy!


I posted a picture on Facebook last night and I think we all decided he should be called Sir Archibald Bananas.  Which is pretty fun.  I plan on making him in other colors, so we might have to come up with a few more names!  I also have a few more ideas, but I need to hit up the craft store this weekend first.
What about you?  What have you been working on lately?


This post may contain affiliate links. Full disclosure policy here.

Quick & Easy, One Skein Infinity Scarf


How's that for a title?  I thought about calling it "The Lazy and Cheap Crocheter's Infinity Scarf"...but I figured that might be slightly offensive to some.  But let's face it, that's really what it is.  Don't worry...I'm the same way.  I learned how to crochet when I was in middle school, but most of my crocheting has been done in the last 10 years or so.  I couldn't even begin to tell you how many blankets I've begun.  I can, however, tell you how many I've completed.  And I can also count them on one hand.  Why?  Because I'm lazy.  Crocheting a blanket is an awful lot of work.  Not to mention how expensive it can be if you're buying good yarn.  So, I stick to smaller projects.  Like this one =)
It's a simple infinity scarf that only uses one skein of yarn and can be whipped up pretty quickly.  I made two last night while watching TV.  It's so easy, in fact, that I almost didn't even post about it.  But then I figured since I already did the work of figuring out how many stitches and whatnot, it might save someone else the hassle of doing it for themselves!
This pattern might be a bit tricky to start because it calls for a size Q crochet hook, and not everyone has one of those sitting around.  If not, just run to your nearest craft store and pick one up...using your 40% off coupon of course ;)  Or Amazon has them as well.

Quick & Easy, One Skein Infinity Scarf

Items needed:
Size Q-19 15mm crochet hook
170 Yards of aran weight yarn (shown in Vanna's Choice)

Gauge: 5 stitches = approx. 3.5 inches
Size: Approx. 50 x 5 inches unstretched (but it's super stretchy!)

IMG_4289.JPG

Abbreviations:
Hdc: Half double crochet
Ch: Chain

Directions:
You will be holding two strands of yarn together for this project.  The easiest way to do this, is to grab the yarn from the center of your skein and from the outside and hold them together.
Row 1: Make a hdc foundation row of 67, join, ch 1 and turn. (Hdc foundation row tutorial from Moogly)
Row 2: Hdc in the back loop only, slip to join, ch 1 and turn.
Repeat row 2 until you run out of yarn.  Easy peasy.  You should end up with just a tad bit of yarn to spare.  Bind off and weave in ends.

My lovely assistant modeling it for us:

IMG_4293.JPG

Copyright and licensing information:  This pattern is for personal use only. You may not repost, reprint or otherwise distribute this pattern.   You may sell your finished product at local venues and craft fairs, you may NOT sell your finished product on any online store or website.  If you are interested in a cottage licence for online sales, please contact me at jessy.spencer at gmail dot com 


This post has been linked up with some amazing sites!  
Oombawka DesignDaisy Cottage DesignsCrafty AllieMoogly


This post may contain affiliate links. Full disclosure policy here.

10 Free Valentine's Day Patterns

(Follow me on Pinterest for more)

It seems like it's Christmas one day and Valentine's Day the next.  I've never been huge on Valentine's Day...I think it goes back to being a child and trying to figure out the least embarrassing card to give to all the boys in my class.  It was rather stressful.  This year, though, I'm actually considering doing something for Valentine's Day gifts (maybe my Valentine's Day giveaway is getting me excited!), so I went out searching for patterns.  Here are some of the fun ones I found:

Last Minute Gifts!

If you follow me on Facebook, you probably already know that I finally clued into the fact that it's almost Christmas!  And that I should get started on some Christmas gifts for the kids.  A couple weeks ago my grandma gave me a large bag full of yarn, so I decided to dig through it in search of inspiration.  I found some grey, super chunky yarn with sequins in it that I loved!  Sadly there was only a small amount left, and I searched and searched all over the internet and can't find any more!  Thankfully there was just enough to make a little baby hat.  Well, just about...hence the different color at the end ;)

IMG_3330.JPG

And it does look awfully cute on our little Chunky Monkey, even if she doesn't look super impressed with it. (photo from Instagram)

IMG_3304.JPG


So, then I decided to make a coordinating hat for her big sister.  I used this pattern, but just made cat ears instead.  If shes's going to be Supercat all day, she ought to have some cat ears!

IMG_3321.JPG

I am seriously so excited to give it to her!  These two are going to be awfully cute sporting their new hats together.

IMG_3334.JPG

Now I just need to get working on all the other gifts!


This post may contain affiliate links.

The Drool Monkey Bib


(Note: I've updated the end of this pattern a bit, if you would like to see how, click here.)


My little girl is almost 5 months old (yikes!) and is teething in full force.  My husband and I always joke around that our kids have gums of steel because it takes forever for their teeth to cut through.  And the drool.  It's everywhere.  In order to protect her clothes, it's best if I put bibs on her...but who wants plain old boring bibs?  I've seen those cute little bandanna style bibs all over lately, but I wanted something a little more scarf-like.  Plus, seeing as it's December it can keep her warm when we leave the house!  I am a huge fan of multipurpose items after all ;)  So, I made a couple of little scarf-bibs for our little drool monkey.  These bib/scarf/things (also called a "scib" by my son!) are made with 100% cotton to keep them absorbing the drool and easily washable.  They have a unique crochet stitch style that gives it both thickness and flexibility and I used a bobble stitch rather than a button to minimize the choking hazard.  Although a little wooden button would be super cute!


 The Drool Monkey Scarf


Items needed: 
Worsted weight 100% cotton yarn (I used Lilly Sugar n Cream in "Country Green")
Size "I" crochet hook

Gauge: 3 hdc = 1 inch
Approx. 16.5 inches long (should fit most infants)

Terms:
hdc = Half double crochet
blo = back loop only
ch = chain
flo = front loop only
tc = triple crochet
(Crochet Basics & Beyond Class)

Notes: When crocheting half double crochet stitches, you will end up with 3 loops for each stitch, two on top and one on the side facing away from you.  Crocheting in the front loop leaves the other two loops on the side facing away from you, crocheting in the back loop leaves the other two loops on the side facing you.  On this bib all the remaining loops will end up on on one side which makes this bib appear knit but also gives it a thick, absorbent quality while still being flexible and breathable.
For this bib, I chose to use a bobble stitch or crochet button instead of traditional button to fasten it.  Since my little drool monkey grabs everything and puts it in her mouth, I didn't want to take any chances ;)  However, the bobble won't hold up to everything, so if you think your little one will constantly be pulling it off, you might want to consider using the crochet button or a traditional one.

Pattern:
Row 1: Make a hdc foundation row of 50, ch 2 and turn (Mastering Foundation Crochet Stitches).  Or ch 52, hdc in third from hook and across.  The foundation chain makes for a stretchier edge though.
Row 2: Hdc 45 on blo, ch 2 and turn
Row 3: Hdc 40 on flo, ch 2 and turn
Row 4: Hdc 35 on blo, ch 2 and turn
Row 5: Hdc 30 on flo, ch 2 and turn
Row 6: Hdc 25 on blo, ch 2 and turn
Row 7: Hdc 20 on flo, ch 2 and turn
You are now going to be crocheting across the entire scarf.  To prevent holes, add a hdc at the end of each row as you crochet past it.
Row 8: Hdc on blo until last 2 stitches, ch 1, skip 1, hdc on blo, ch 2 and turn
Row 9: Hdc on flo until end, bind off and weave in ends or add crochet button or bobble stitch

To add a crochet button: Slip stitch into center of the edge, ch 3, slip into same spot forming a loop.  With the front facing you, ch 3, dc 10 into the loop, slip stitch to the first ch 3 to join forming a little button.  Bind off and weave in ends.


To add a bobble stitch: slip stitch into center of the edge, ch 3 and with the front facing you, tc 5 times into the same space, except do not yarn over and pull through the final loop.  There should be 6 loops on your hook, yarn over and pull through all 6 loops.  Slip stitch, bind off and weave in ends.


Copyright and licensing information:  This pattern is for personal use only. You may not repost, reprint or otherwise distribute this pattern.   You may sell your finished product at local venues and craft fairs, you may NOT sell your finished product on any online store or website.  If you are interested in a cottage licence for online sales, please contact me at chaleurlife at gmail dot com 


This post has been linked up with some amazing sites!  Click here to see which ones!
Oombawka Design


This post may contain affiliate links. Full disclosure policy here.

10 Free Knit and Crochet Christmas Patterns

Every year growing up, my family would unpack all the Christmas decorations the day after Thanksgiving.  Now as an adult with kids of my own, it's up to me have Christmas decorations!  This year, though, we just moved and we don't have a whole lot in the way of Christmas decorations.  I've been looking at patterns for making my own, and came up with a little list of free knit and crochet patterns for making your own Christmas decorations!


Visit Jess @ Chaleur's profile on Pinterest.

Crocheted Heart Earings


Items needed:
3.5 mm (E) crochet hook (don’t use your favorite, as wire can scrape it up!)
32 gauge silver wire
Red Seed Beads (about 33 for each earring, plus a few extra just in case)
2 earring hooks
Needle nose pliers
Crocheting with wire is exactly the same as normal crocheting.  However, you do need to make sure and not crochet too tight, otherwise you may break the wire.
To add the beads in a single crochet, insert hook , wire over hook and pull up loop, slide one bead over to your hook, wire over hook making sure the bead stays put,and pull through both loops on hook.  You will do this on every single crochet made.
Heart (make 2):
String up all the beads onto the wire
Row 1: Ch 2, sc 3 into second ch from hook
Row 2: Inc in first, sc, Inc (5 total)
Row 3: Inc, sc 3, inc (7)
Row 4: Sc across
Row 5:  Sc, Dc 3 times into next sc (alternate bead placement on the dc, sometimes pulling over the bead on the first wire over, sometimes on the second), sc 3, dc 3 times in next, sc
Bind off and weave in ends.  By gently pulling and tugging, shape the heart.
Take your earring hooks and carefully pull the loop open with your pliers.  Attatch the heart and carefully close up the loop.

(reposted with permission)

Want to read more?  Sign up for email updates here!

This post may contain affiliate links. Full disclosure policy here.
Related Posts Plugin for WordPress, Blogger...