


I love sugar scrubs, and they make a perfect gift. They're quick and easy, but people love to get them as gifts because it's a little "indulgence" they might not ever buy or make for themselves. I got some lemon oil a while back (read the review here) and it smelled so amazing I knew I had to make a sugar scrub out of it! But I wanted something a little more than just the basic lemon sugar scrub, so I came up with this Lemon Loaf Brown Sugar Scrub. When I let my kids smell it they wanted to eat it, it smells that good! I didn't let them, but I could have because this is made with ingredients found in many people's kitchen. If you keep scrolling, I've also included the pattern for the crocheted mason jar topper =)
Lemon Loaf Brown Sugar Scrub
Ingredients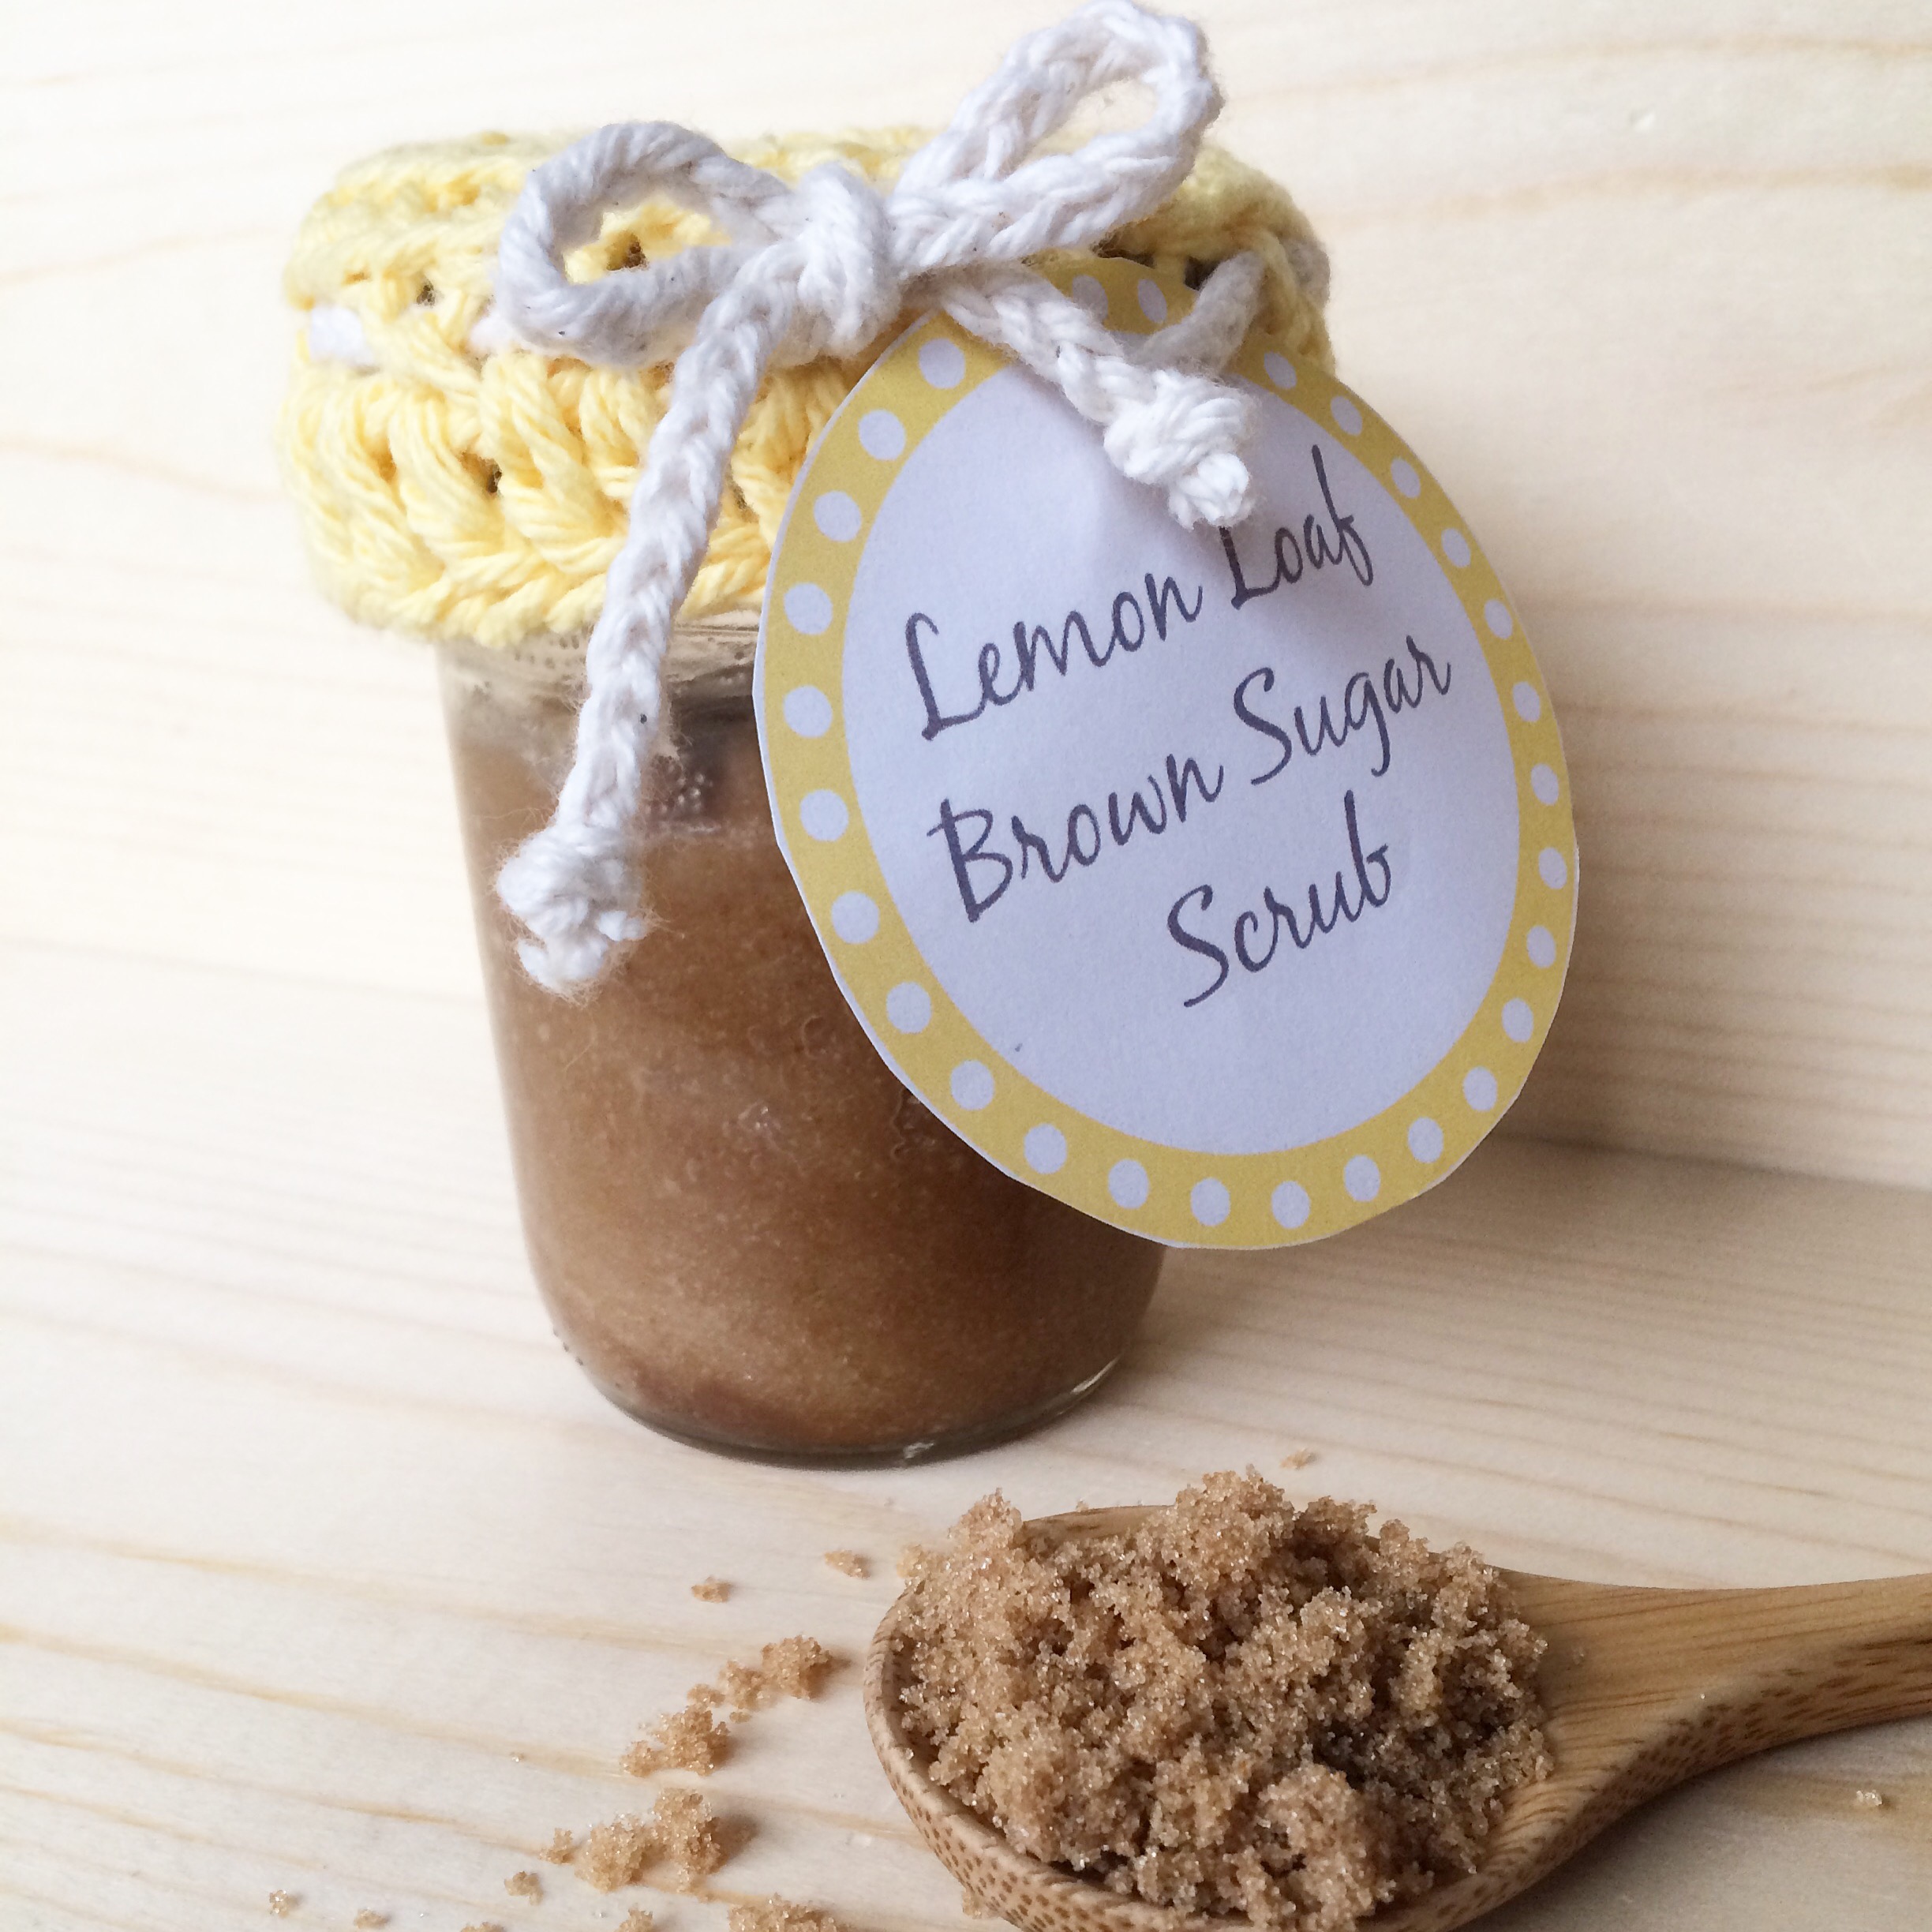
- 1/3 cup of coconut oil, melted*
- 1/3 cup of brown sugar
- 1/3 cup white sugar (you can use all brown sugar, but I found it to be too dark)
- 4-6 drops of lemon oil (this is the one I use)
- 1/2 tsp pure vanilla extract
Directions
- Mix everything together. It doesn't get much easier! Add more oil or sugar if you want to change the constancy.
- Store in a jar or airtight container.
*Coconut oil will harden a bit in cooler temperatures. If you want to avoid that, use half coconut oil and half olive or almond oil. Or just replace it altogether.
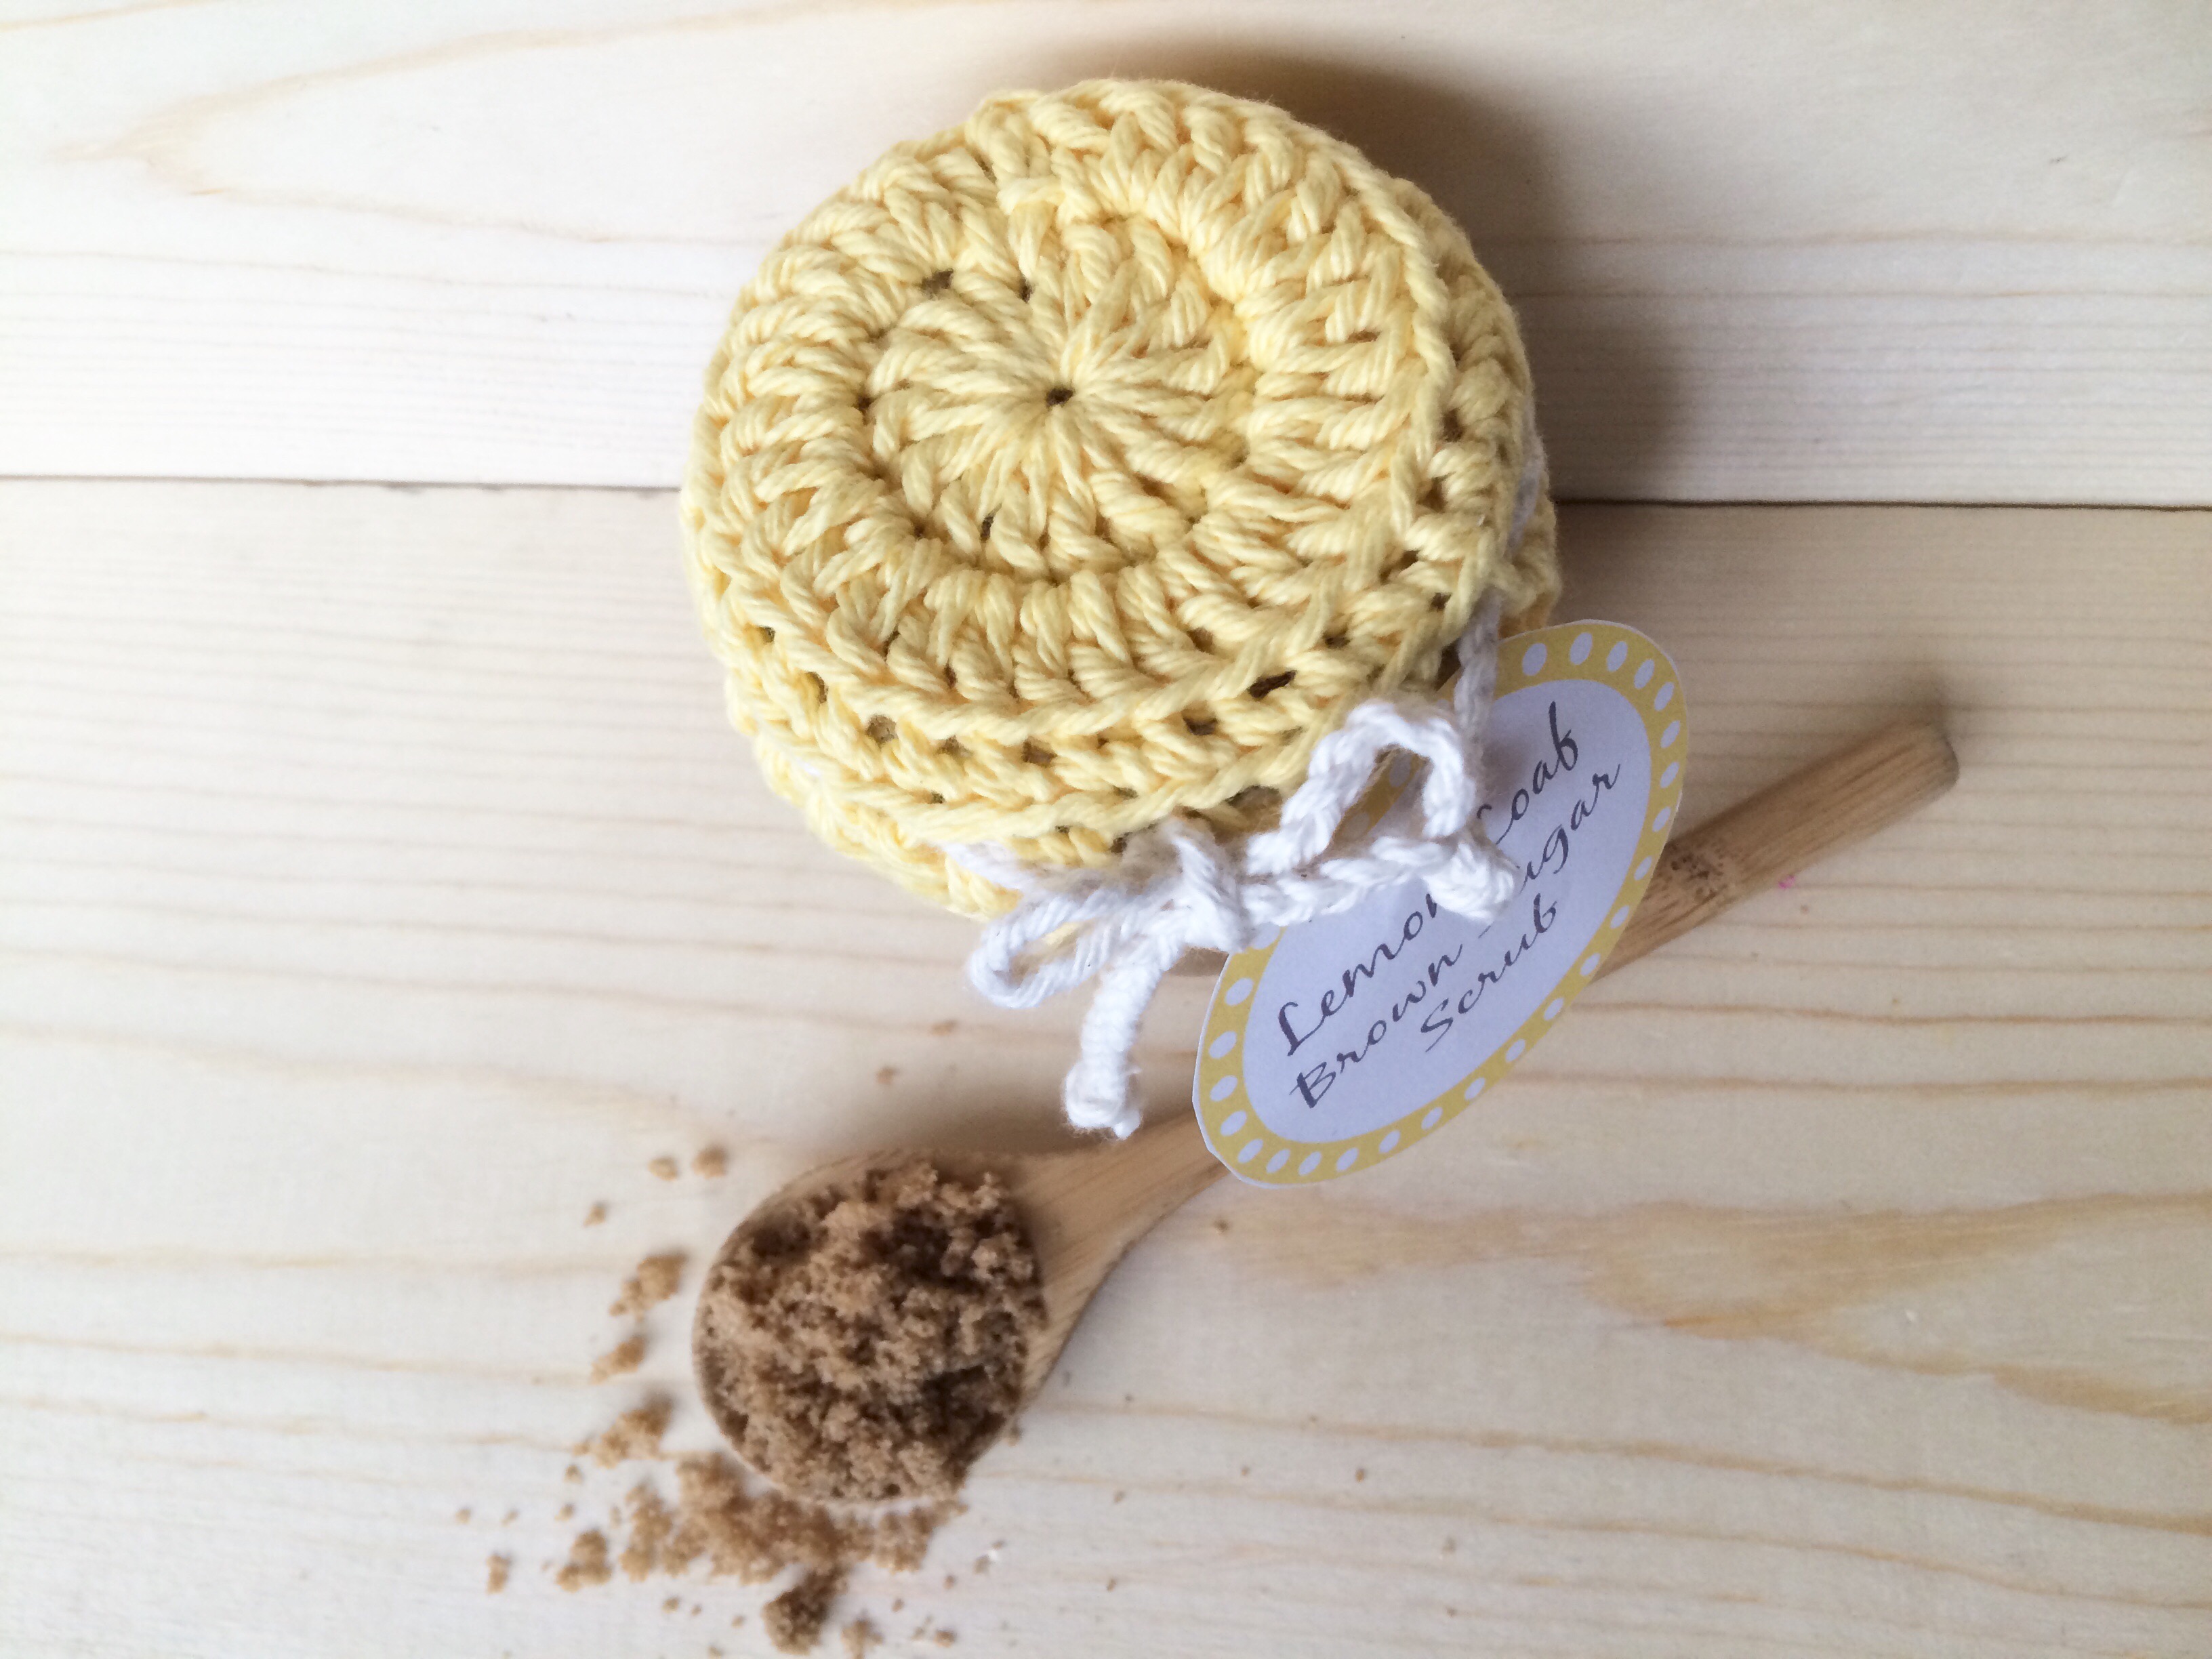
Simple Crocheted Mason Jar Topper
- Any worsted weight yarn (I used Lily Sugar n Cream in "Sunshine")
- Size "I" crochet hook
Abbreviations
- Dc - Double Crochet
- Ch - Chain
- Sc - Single Crochet
Directions
- DC 14 into a magic loop, slip to join, ch 2 and turn
- Dc into same, 2 dc in each remaining stitch, slip to join, ch 1, turn
- Sc in the back loop only in each stitch, slip to join, ch 2 and turn
- *Skip stitch, sc*, repeat from * to *, slip to join, ch 2 and turn
- Dc in each stitch, slip to join, bind off and weave in ends
- Braid some yarn and weave it through holes formed in row 4
- Tie in a cute little bow =)
*Note: It may be a little tight at first, but it'll stretch. If you find you need a bit more room, just add a row of single crochet between rows 2 and 3.
If you would like to use the same label I did, just right click on the image below and save to your computer. The image is formatted for an 8x10 page, so it shouldn't need any adjustment.


Linking up here:


This post may contain affiliate links. Full disclosure policy here.
